


This tutorial focuses on the built-in tools in Windows, which you can use when a Windows server is not booting correctly.
Booting to Safe mode
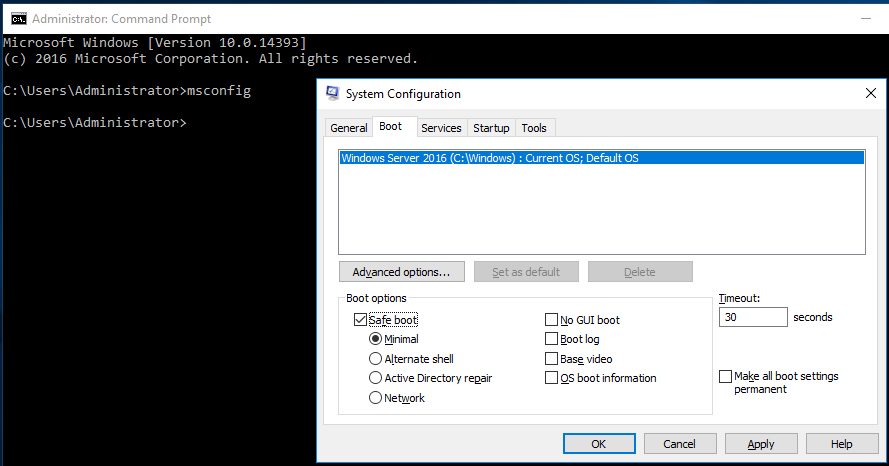
Booting to safe mode eliminates all unnecessary boot up items, therefore it is useful in the event that you suspect that something that is boot up along side windows that is causing a problem. You can press F8 at boot to get to safe mode. What you also can do is open a command prompt and enter msconfig. The dialog box System Configuration opens.
Under Boot options, check the check box Safe boot, click OK
Yet another way to boot into Safe mode is, one again, open a command prompt and type bcdedit safeboot minimal. You can also do bcdedit safeboot networking to boot to safe mode with networking. Finally, you can type bcdedit safeboot safebootalternateshell to a safe mode command prompt.
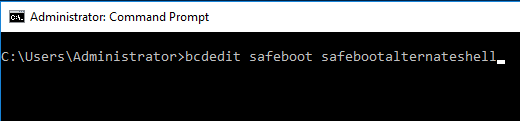
A word of warring – before using bcdedit for getting to safe boot. One you have enabled safe boot from bcdedit you will keep booting to safe mode until you disable to via command prompt like this: Bcdedit /deletevalue safeboot
Advanced boot Options
When booting to Safe Mode you will be met with the Advanced boot Options menu.
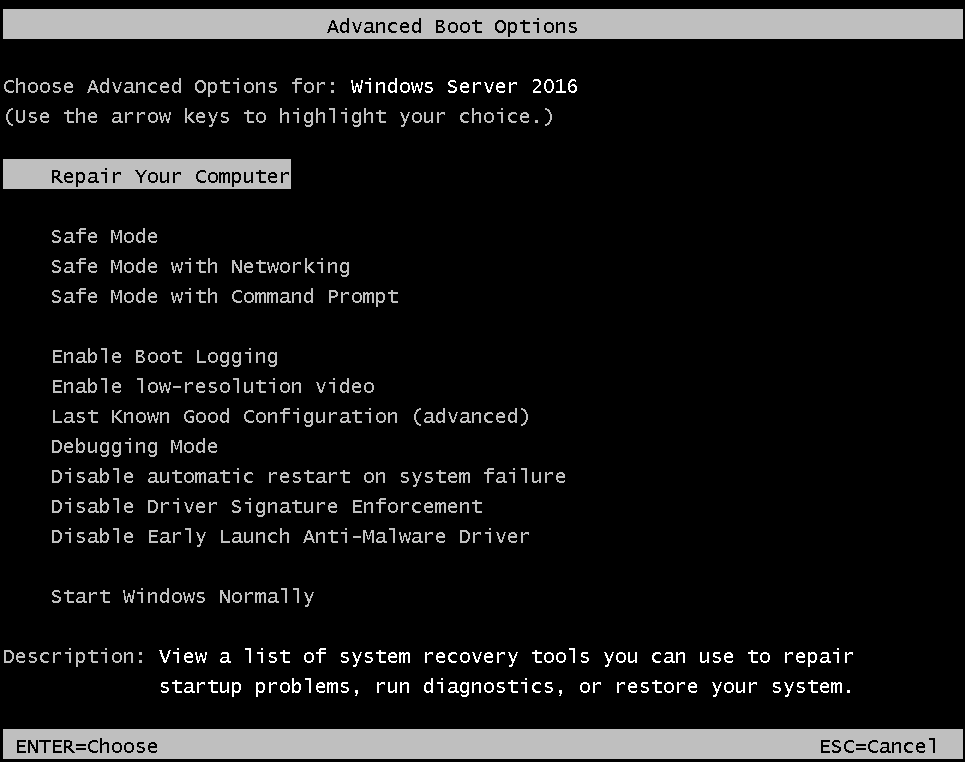
- Repair Your Computer – Boot to WinRe environment.
- Safe Mode – Striped down version of windows.
- Safe Mode with networking – Safe Mode with networking capabilities.
- Safe Mode with command Prompt – Safe Mode without a GUI, only a command Prompt.
- Enable Boot logging – Creates an ntbtlog.txt file in your C:\Windows wit boot information.
- Enable low-resolution video – Min. window resolution.
- Last known good configuration (advanced) – loads the last configuration where windows booted successfully.
- Debug mode – sends debugging information to an external device connected via serial port.
- Disable automatic restart on system failure – Disable this if you an in a loop of automatic restarts.
- Disable Driver Signature Enforcement – This will allow drivers without Signature to be loaded.
- Disable Early Launch Anti-Malware Driver – disables windows build-in detection of Rootkit.
Booting to Recovery Environment (WinRE)
There are two different recovery environment in windows WinRE and WinPE. The most basic difference between the two is that WinPE includes networking capabilities that is not available in WinRE. In this tutorial, we are going to focus on WinRE.
There
Another thing you can do is if you can actually boot to the OS is open a command prompt an enter shutdown /r /o /t 0.

/r is for reboot. /o is boot to windows recovery mode and /t is time 0 seconds
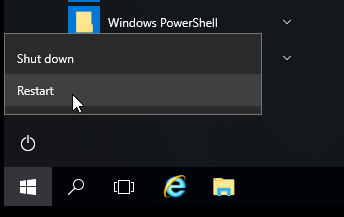
You can also hold down shift while clicking restart in the graphical interface.
Naturally, you can also do it the old school way, where you boot to bios and choose to boot to a dvd drive with a installation dvd, there from there chose to run WinRe tools.
Finally, Windows will automatically boot to WinRE under certain conditions:
- Two Bad startups – This is when something in the process of the OS startup go wrong.
- Two sudden shutdown – This is when the OS is suddenly shutdown like the power are cut.
- Secure Boot Error – This could be if something like a rootkit tries to fiddle with the secure boot.
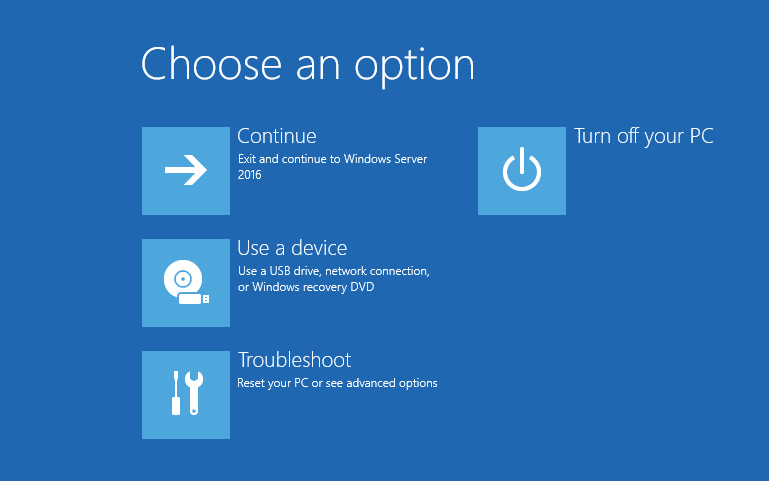
Ones you are in WinRE you have a few options to use the tools available, in this tutorial, we are going to few different command line tools.
Startrep
- Click Troubleshoot
- Click Command Prompt
- Type cd /sources/recovery
- Type startrep and press Enter
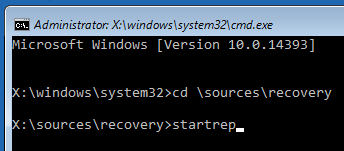
Startrep is a program, which diagnose the startup process and if possible fixed it. I looks at registry corruption, driver issues, partition problems and other. Therefore, it is always a good place to start.
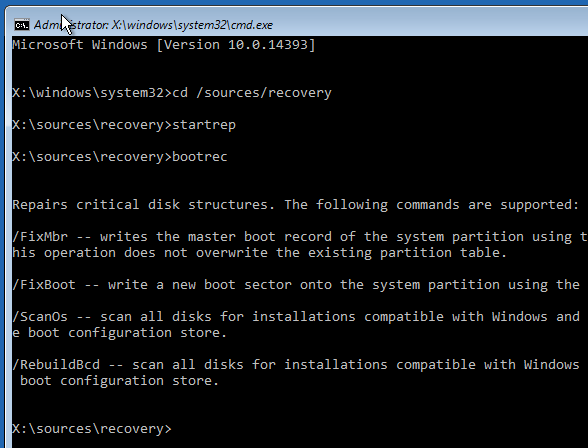
Bootrec
Another useful too is bootrec.
- /Fixmbr – Will write a Master boot record for windows to boot on.
- /FixBoot – Will write new boot sector.
- /ScanOs – Scan all partitions to look for at boot records.
- /RebuildBcd – Will allow you to choose the versions of windows you want to add to the bcd store.
Dism
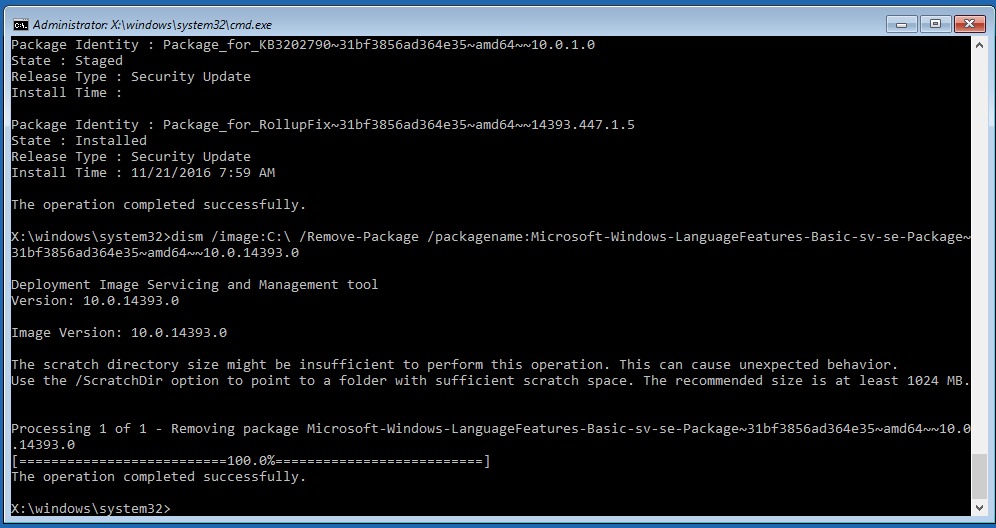
Every once in a while Microsoft fucks up with a Windows update that send servers into bsod when booting or something worse. In these situations, you can use Deployment Image Service and Management Tool (DISM) from WinRE to remove the update. Start by searching the internet for recent windows updates for your OS, and if other people have had similar problems with it. Find the KB number of that update.
- To see all installed updates type Dism /Image:C:\ /Get-Packages
- To remove a KB type Dism /Image:C:\ /Remove-Package /PackageName:Package_for_KB######
- To reboot type shutdown /r /t 0
Hopefully, Windows will boot successfully afterwards.
Diskpart
Diskpart can be used to check the state of your disk and partition. If you boot up and you get a screen like the on below saying that the operating system could not be found, this is a good place to start.
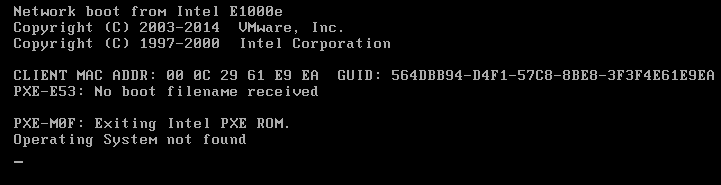
Since the OS in is gone, we can’t event get to WinRE we need to dust off out Windows 2012 r2 Installation disk or iso file and boot from that.
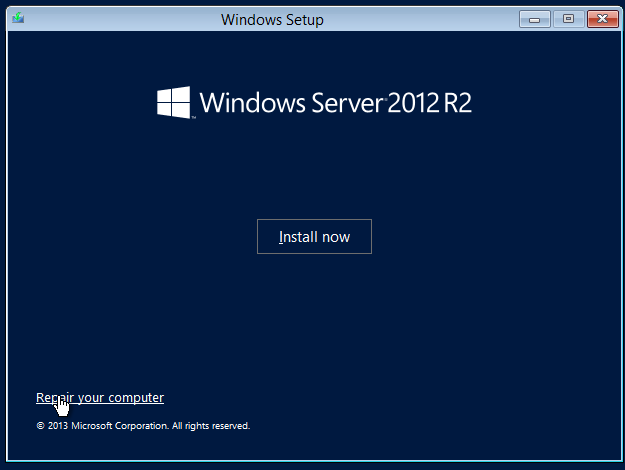
- Choose your keyboard layout and click Continue
- Click Repair your computer
- Once in WinRE Click Troubleshoot
- Click Command Prompt
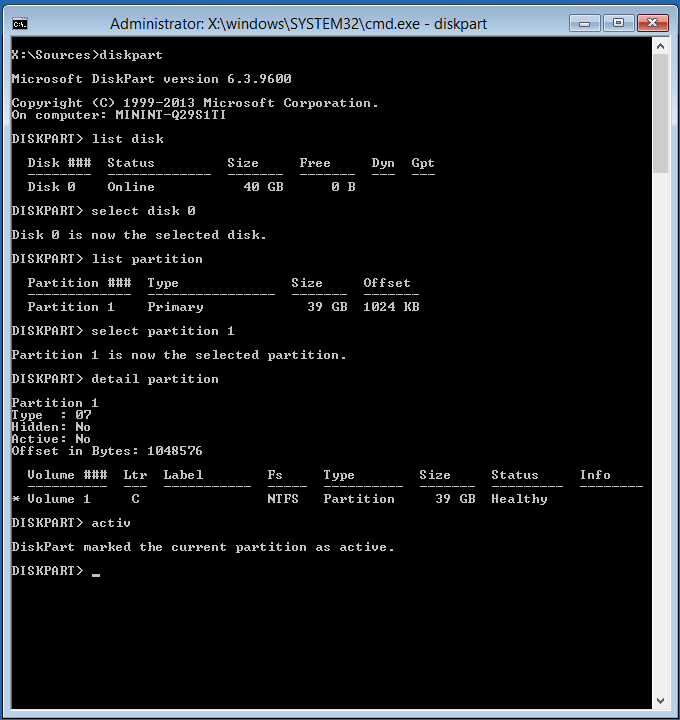
- Type Diskpart | List disk | Select disk 0 |List partition | Select partition 1 | Detail partition
So I we see that the partition has the attribute Activ:No. Since this is the only partition in our system this is probably not a good idea that it’s inactive.
- Type Active
- Type Exit to leave diskpart and Exit again to leave command prompt
- In WinRE Click Continue to reboot
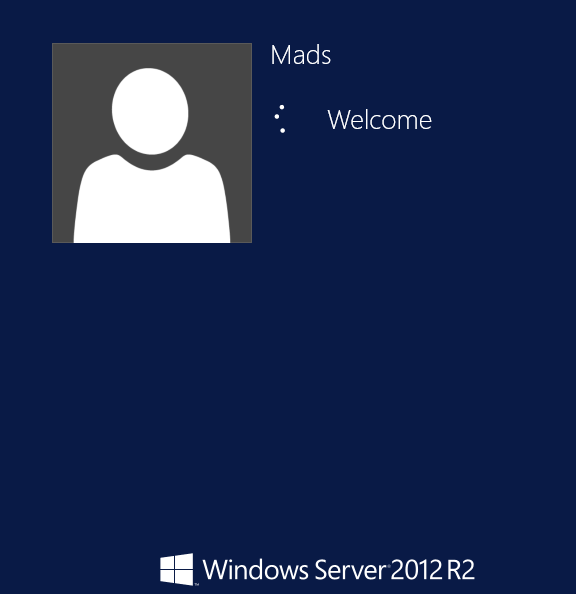
Hopefully windows will now boot to the active partition.